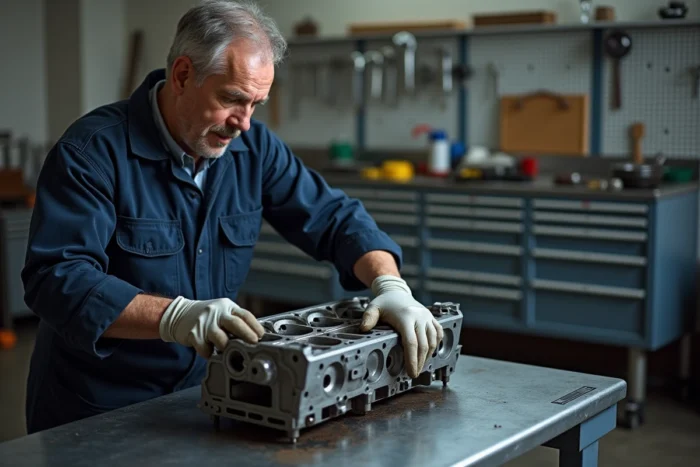
A resurfaced cylinder head that rattles again after a few thousand kilometers indicates an incomplete diagnosis before machining. Before starting the resurfacing, identifying the cause of the warping changes the longevity prognosis of the reassembly.
Diagnosis of Warping Before Cylinder Head Resurfacing
A cylinder head does not warp without reason. Starting a resurfacing without tracing back to the source of the warping amounts to treating a symptom. In the workshop, we observe three recurring families of causes, each requiring a specific check before handing the part over to the resurfacer.
Overheating remains the main factor. A stuck thermostat, a partially blocked radiator, or a water pump at the end of its life cause localized temperature rises on the sealing surface. The coolant no longer circulates properly in the circuit, and the differential expansion between the hot and cold areas of the metal generates warping.
The second family concerns tightening defects from the previous reassembly. An incorrect torque or a non-respected tightening sequence creates asymmetric stresses on the cylinder head. Even a new gasket does not compensate for poorly distributed preload on the studs.
The third cause, more insidious: a timing issue that caused a piston-valve contact. The mechanical shock deforms the sealing surface in a way that is invisible to the naked eye but measurable on a surface plate. Knowing how to perform a cylinder head resurfacing is not enough if the worn timing belt that caused the damage is not replaced simultaneously.
We recommend systematically documenting the condition of the cooling circuit, the timing system, and the studs before any resurfacing. Without this step, recurrence is predictable.
Flatness Check and Microcrack Detection
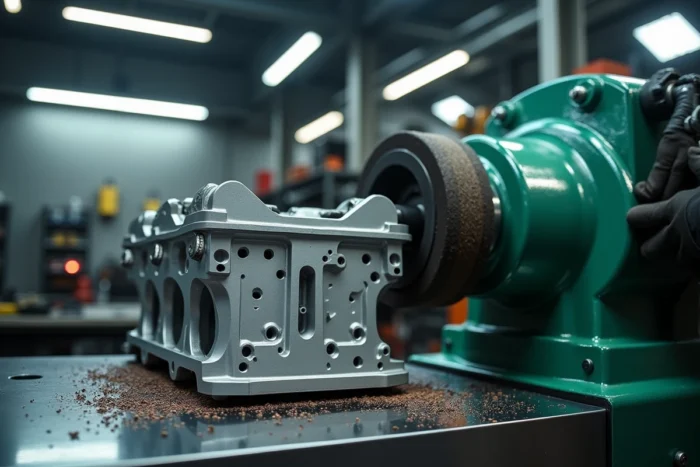
The flatness measurement using a ruler and a set of feeler gauges provides an initial indication, but it does not tell the whole story. A perfectly flat cylinder head can remain unusable if it has microcracks under pressure.
Measurement on a Surface Plate and Manufacturer Tolerances
The check is performed on a precision surface plate, using a dial gauge. The tolerance varies according to the engine types, but the maximum allowable deformation on the sealing surface is generally around a few hundredths of a millimeter. Beyond that, resurfacing is required.
Each manufacturer publishes a maximum resurfacing specification. Exceeding this specification reduces the volume of the combustion chamber, increases the compression ratio, and can cause destructive knocking. For direct injection diesel engines, the margin is even smaller.
Pressure Leak Test
The dye penetrant test or pressure bench check detects through cracks or porosities that visual inspection consistently misses. We consider this test non-negotiable for any cylinder head that has overheated, even if the flatness is within tolerances. A crack between a water passage and a combustion chamber causes the infamous mayonnaise in the oil cap, a sign of an oil-coolant mixture.
Valve Sinking After Resurfacing
Resurfacing removes material from the sealing surface. The valve seats drop with the machined surface, which alters the position of the valves relative to the pistons. This technical point, rarely addressed in consumer guides, affects the reliability of the reassembly.
- Check the valve protrusion height after resurfacing with a precision caliper, comparing it to the manufacturer’s specification
- Verify the piston-valve clearance at top dead center, especially on engines with combustion chambers in the piston (diesel) or engines modified with a sports camshaft
- If the sinking exceeds tolerance, re-machining the valve seats allows for raising the seating and restoring the original geometry
Ignoring this check exposes you to mechanical contact between the piston and the valve at high RPM, potentially leading to engine failure. The risk increases proportionally to the thickness of material removed during resurfacing.
Reassembly of the Cylinder Head: Torque and New Gasket
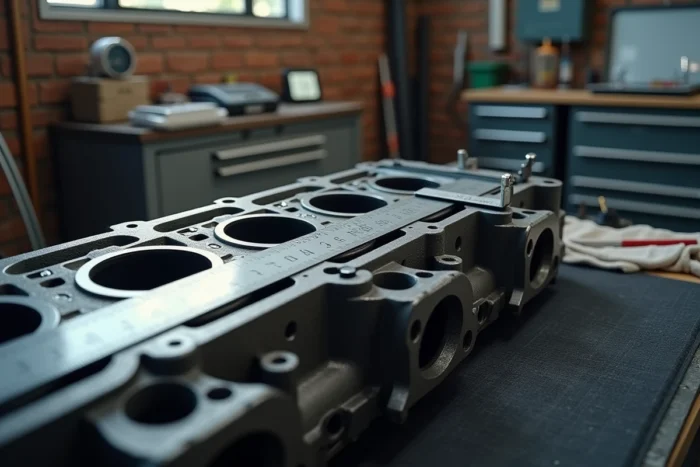
A cylinder head gasket is never reused after disassembly. Modern multi-layer gaskets (MLS) undergo calibrated crushing during the first tightening. A second assembly does not reproduce the same sealing.
Tightening Sequence and Angular Method
The tightening is done in a spiral from the center to the outside, in several progressive passes. Most recent engine types use a combined method: an initial torque tightening (in Newton-meters), followed by an angular tightening (typically two angle passes). A torque wrench alone is not sufficient; an angle gauge or a wrench that incorporates this function is also needed.
- Clean the threads and the stud seating to eliminate any traces of carbon, residual oil, or corrosion that could distort the actual torque
- Systematically replace the cylinder head bolts with elastic limit (TTY bolts), designed for single use
- Respect the waiting time between passes if the manufacturer prescribes it; some protocols impose a stabilization delay
Cooling Circuit Check Before Starting
Before the first start, bleed the cooling circuit following the manufacturer’s procedure. An air pocket trapped in the cylinder head creates a localized hot spot that can cause new warping in a matter of minutes. Also check the condition of the thermostat and water pump: if the original overheating came from these components, reinstalling them as-is guarantees another failure.
The first thermal cycle after reassembly deserves careful monitoring. Coolant temperature, absence of leaks at the sealing surface, absence of white smoke from the exhaust: these three indicators confirm that the sealing holds. A retightening after complete cooling is sometimes recommended by some manufacturers, but this practice is disappearing with modern single-use TTY bolts.